
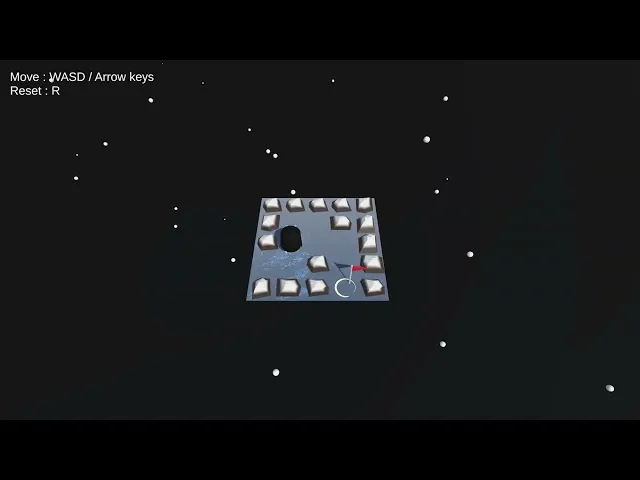
Ice Sliding
2025 - 1 week
Ice Sliding is a small project I made using Unity in a few days. The goal was to create a web-playable game, to show my skills to the recruiters, and to promote it on LinkedIn.
The game is really simple, it is inspired by the old school RPGs’ ice puzzles. You must exit an ice lake, but whenever you move, you will slide to the next wall. You must use the walls to find a way out.
In this article, I will tell you how I made this game, and we will see in detail how each feature is thought and implemented.

Level Structure
The level structure was an important aspect of the game. If I speak about it at the beginning of this article, it’s because this structure influences many other systems in the game.
As the ice-sliding puzzle I was aiming for is based on grid movement, I decided to make levels using 2D Arrays. Since I’m working with Unity, and so C#, I used Lists, to build levels with different list capacities. Here is a diagram that represents a level using a 2D List.
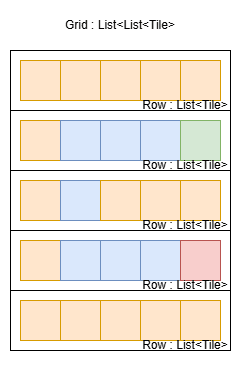
Once we have this 2D List, we can save levels in a « Level » scriptable object class. This would be an easy way to save, edit and load levels only using data. Unfortunately, I faced a first problem here.
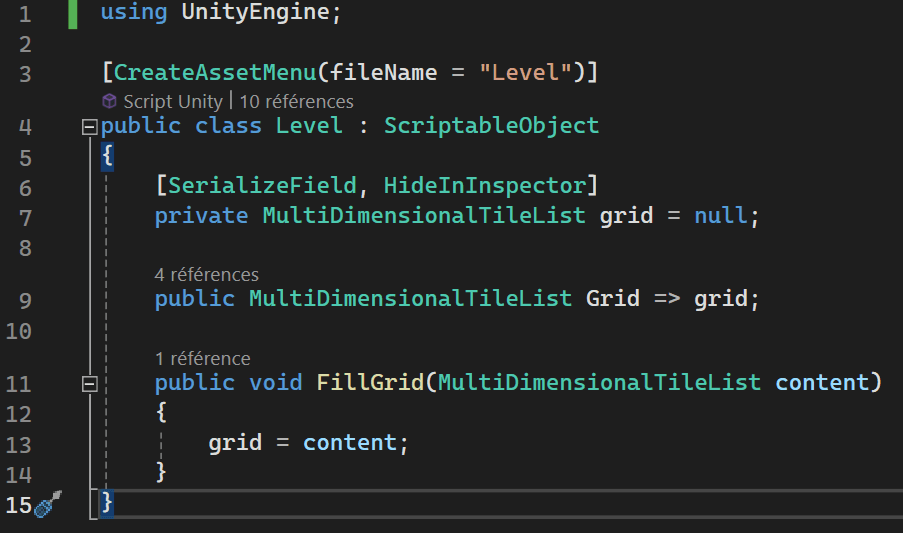
Unity doesn’t support serialization of multilevel types, which, is the case in our project (multidimensional arrays). In order to serialize this kind of object, I need to wrap my type in a « serializable » class.
Here is the trick :
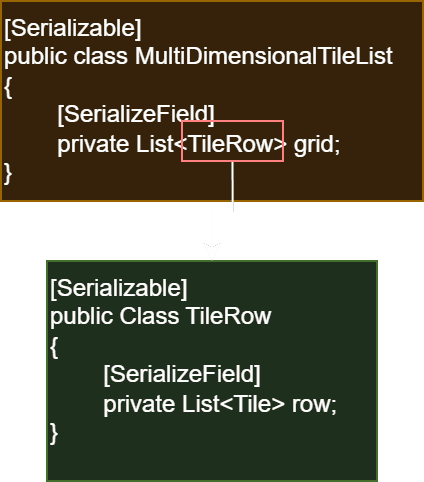
We can see here that the class TileRow is serializable, and serializes a List of Tile objects. This is supported by Unity.
On top, we have a class "MultiDimensionalTileList", which is also serializable, and serializes a List of TileRow. This is also supported by Unity, and it allows us to serialize a 2D List with it.
To use it with ease, I added a few collection methods that directly manipulate the private field in both classes, such as Add, Remove, the property Count, but also an indexer, in order to be able to use square brackets next to my TileRow or MultiDimensionalTileList objects.
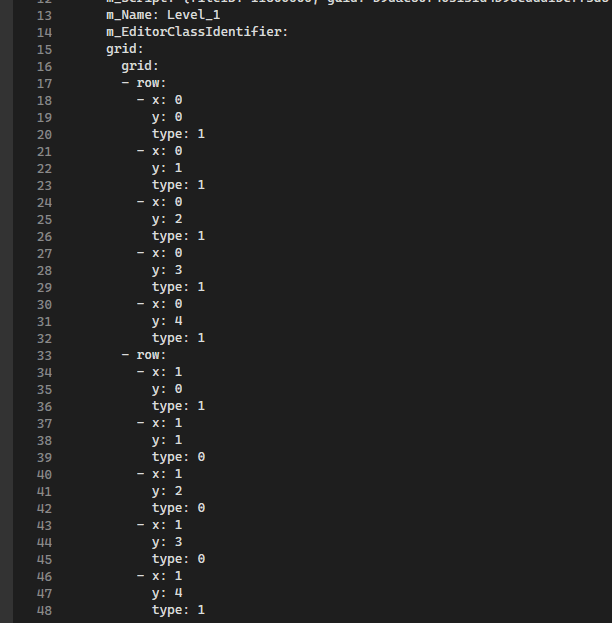
With this wrapper, we are ready to save levels! We already did the most difficult part, our levels should look like this :
Data Driven Gameplay
The second goal behind building 2D list levels was to use Model-View-Presenter. This design pattern is rarely used in gameplay, but as we have a complete control of our level in a single variable, this was easy to implement.
The idea is to keep the level grid in a variable, which we will call the « model » here. Whenever I want to move my player, I will ask the model to determine where is my next position on the grid. If the movement is valid, the model will return a positive answer, and then, my level manager will tell the view to update itself.
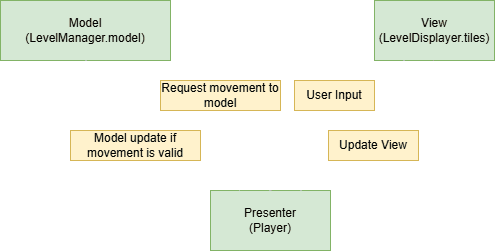
The main advantage of using an MVP here is that there is no physical simulation, and then, no physical bugs. Furthermore, it might be more optimized to iterate on small grids rather than computing collision tests and stuff. However, with big levels, this might be less performant, but it’s trivial.
Level Editor
At this stage, the gameplay is almost complete. I need to add some levels in the game. Firstly, I thought about making a level generator, but my designer mind told me that it was a bad idea without many tests & a rational level design sheet. The generator should produce interesting levels, and this is pretty hard and needs a lot of work.
I decided to create a level editor instead. The main goal is to speed up the level edition and creation process.
In order to create a good level editor, I need to implement easy-to-use features, but also easy to understand, to maximize the level designer user experience.
Here is the custom editor window I made for the level editor :

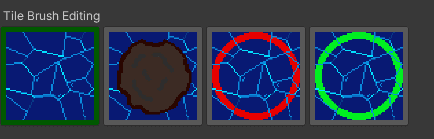
You can Initialize grids of the size you desire. Once it’s done, you can repaint tiles with the brush edit. First, I made a simple swap between sprites whenever you clicked on a tile on the screen, but if I add a tile to the game, I’ve to add it to the swap code, and it will take longer to choose the tile we want since we need to cycle through all the tiles. With this new brush system, I can choose whatever tile and place it wherever I want, quickly. Once you’re satisfied with your level, you can save it. If the level already exists, it will not overwrite it, simply to keep the data safe. If you’re sure to overwrite it, you have another button to force the save process.
Last feature but not least, you can load existing levels to edit them.
Art Overview
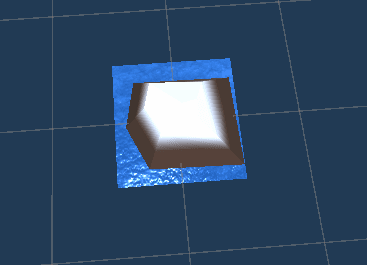
Even though I’m not an artist, I managed to create some cool visuals for the game. Each asset is homemade, except a shader, including a texture, which comes from this cool youtube video.
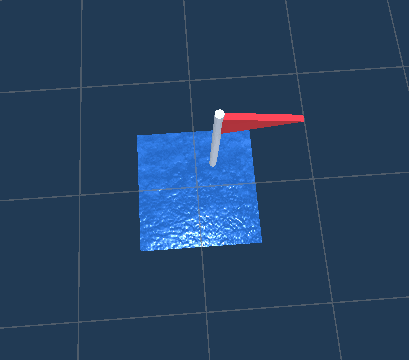
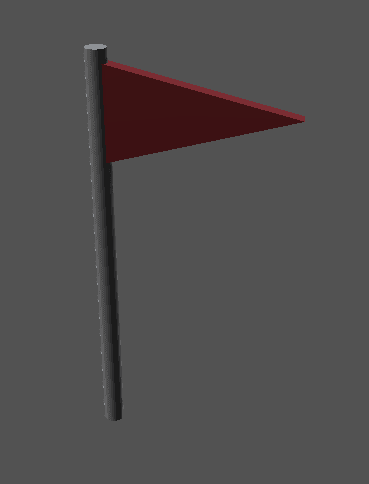
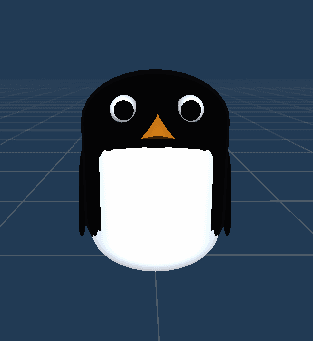
Here are some pictures about my work.
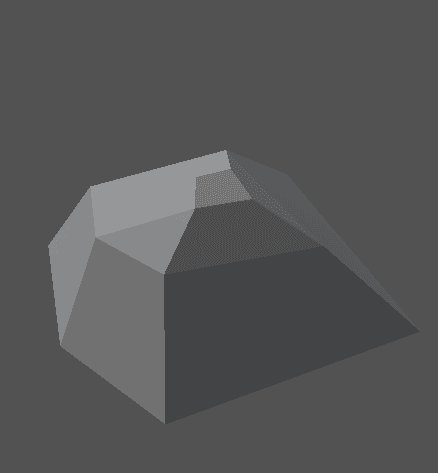
I used Blender to create easy rock meshes (2 types, rotated randomly in the scene to create variations) but also the objective flag.
As for the player, I used basic shapes of unity, nested into each other, to simulate a real model rigging. With this structure, I was able to animate the character easily within the Unity animation system.
I added some simple VFXs under the player, to simulate the slide friction, a rotating circle to stage the level objective, and some white spheres all over the scene to make it snowy!
Finally, I needed more impact and rhythm to the game, that’s why I added a light screenshake at the end of each movement, but also a small camera damping.
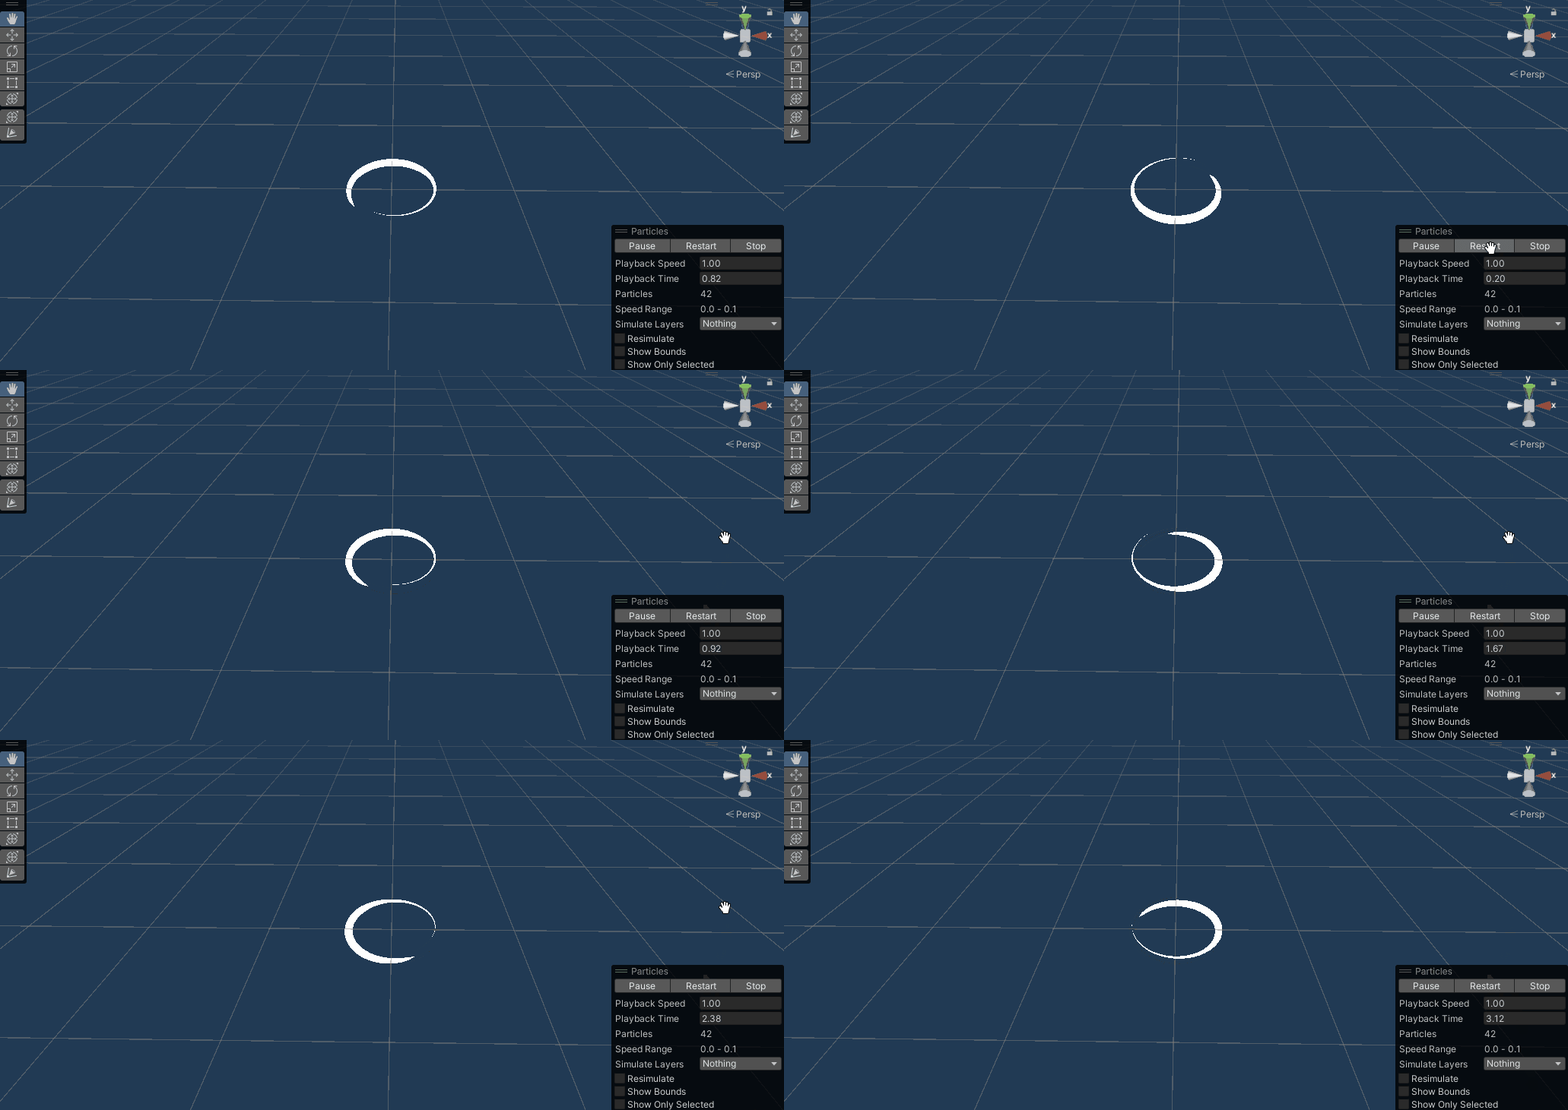
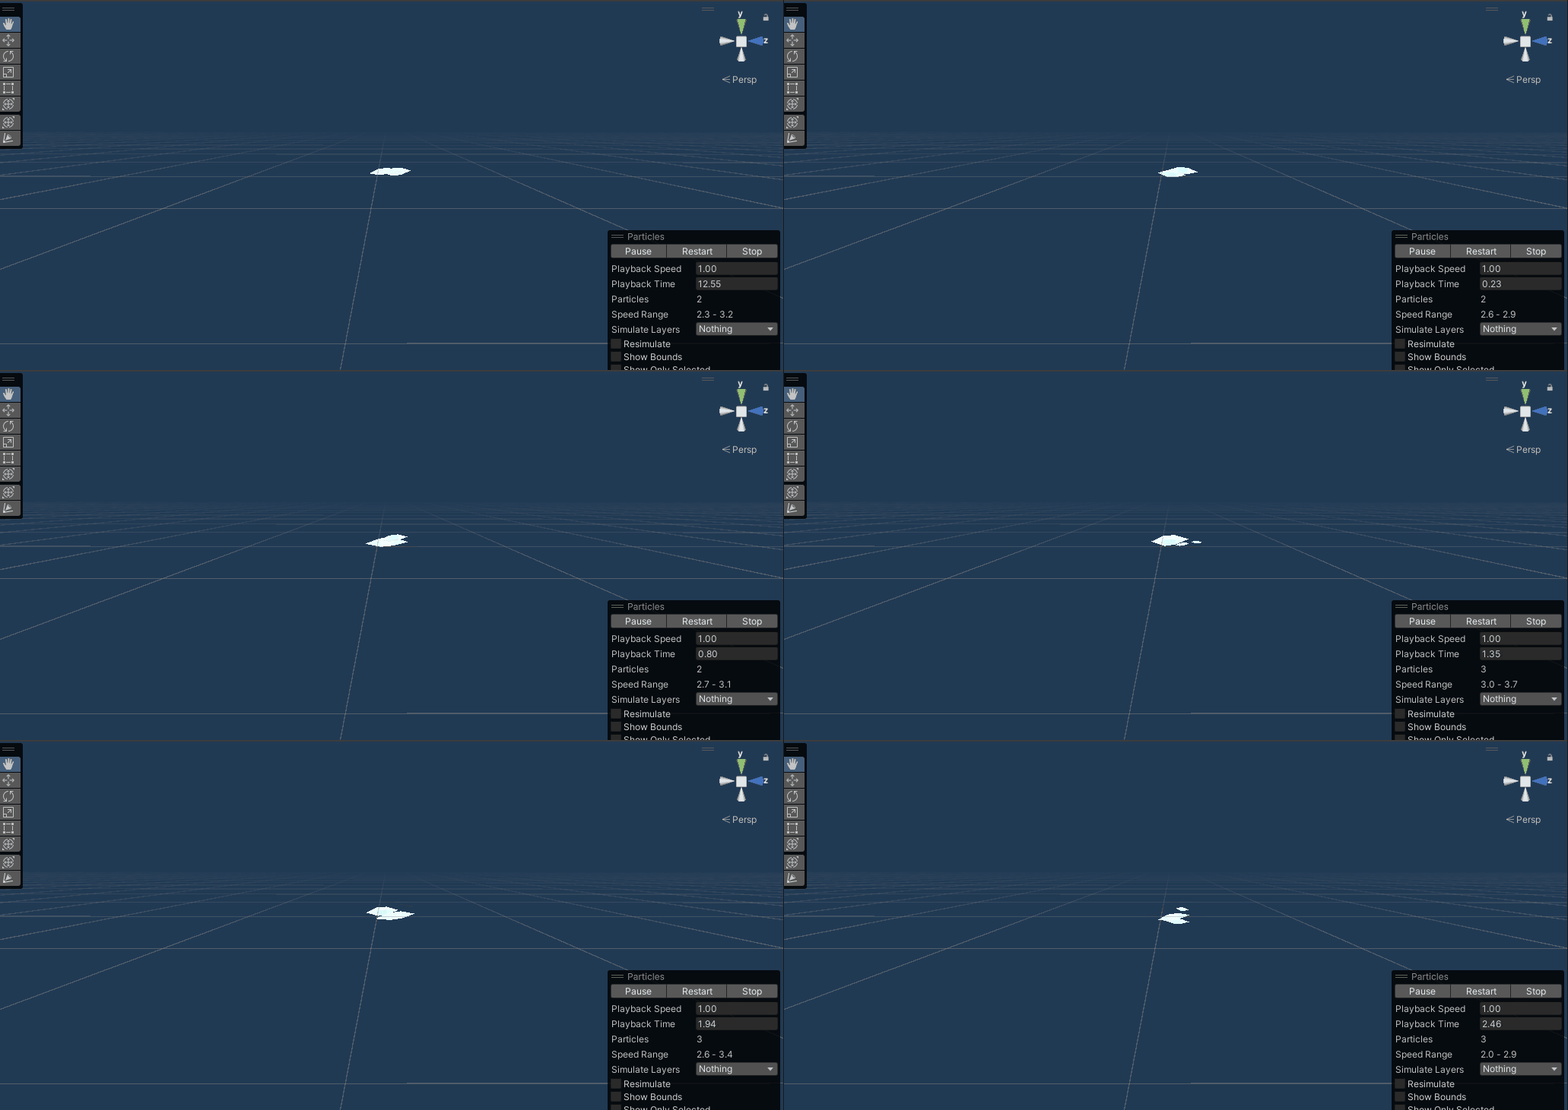

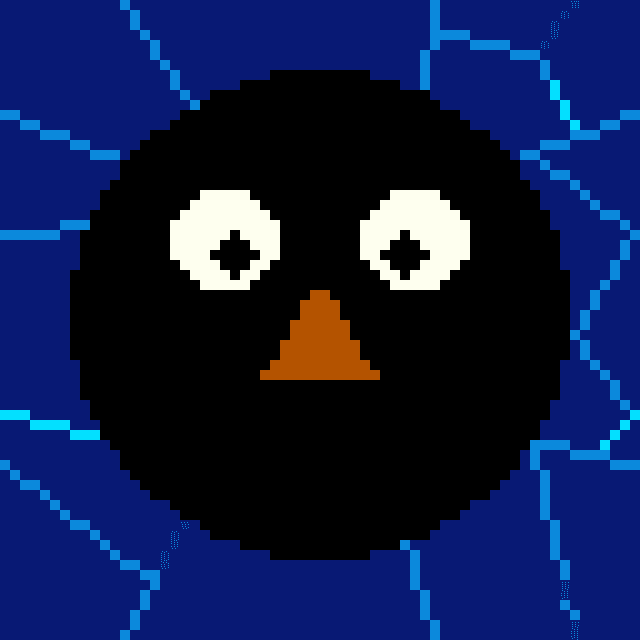
Regarding the level editor, I made every tile texture using Aseprite, just to have fun making it in pixel art.
This is obviously not great art, but this is made so you know that I understand how meshes, textures, and particles work, and can integrate them into the game!
Engine : Unity
Language : C#
Platform : PC
Thank you for reading this article, don’t forget that you can try it on itch.io!
